I'm delighted with my finished "Vetch Cushion," so-named by Jo Avery of @joaverystitch. I took Jo's online Organic Improv Appliiqué lessons to piece this 20" X 20" square pillow. The background is improv-cut and pieced, followed by hand cut (no template) leaves and rotary cut bias stem that are hand-appliquéd. Quilting is also by hand using several colors of size 12 Wonderfil Spagetti perle cotton.

The texture created by perle cotton is just yummy.


For the pillow back I used a pretty speckled aqua-blue linen. And of course, I bound the pillow with a black and white stripe.
As I finished making this pillow, I realized it's the third one I've made following one of Jo's patterns. All three are improv designs and include linen. Each pillow has a different place in our home.

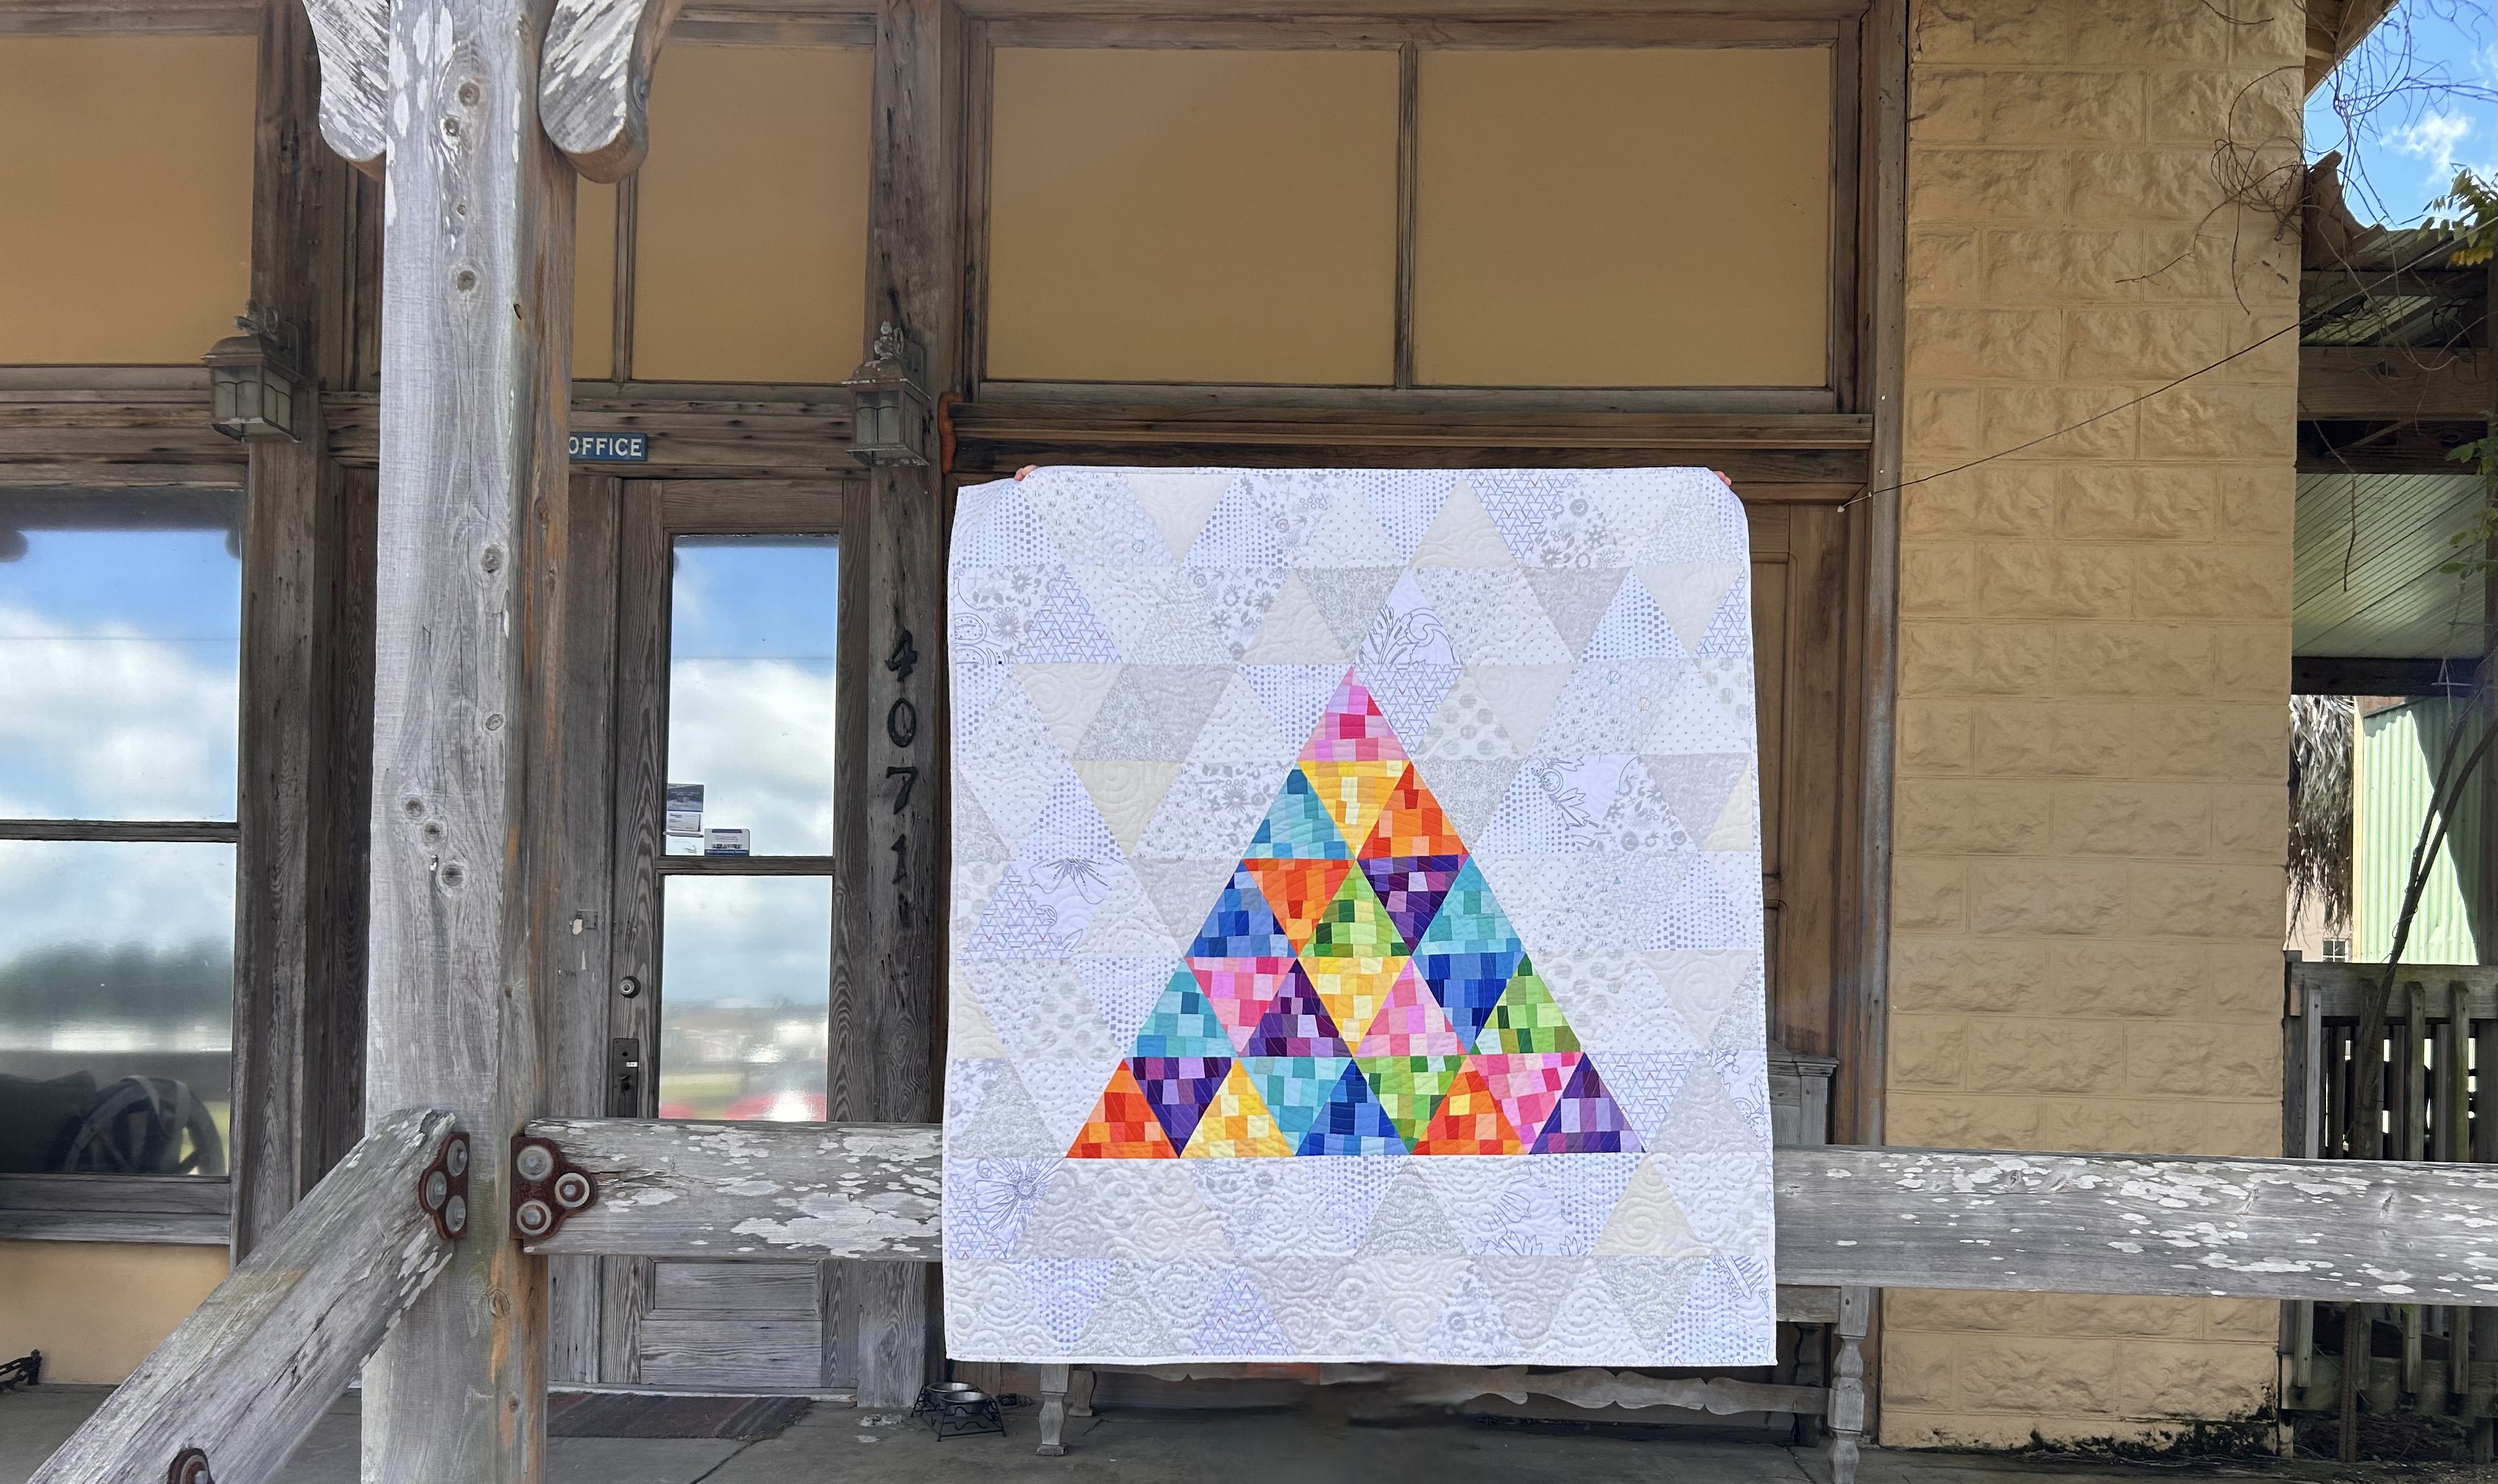
Lately, I pieced a 70" X 76" quilt back for the "minimal" (ha!) quilt top I recently finished. Inspiration came from Kelly Young's My Quilt Infatuation book Perfectly Pieced Quilt Backs. This backing design is called "Toppling Tower." I'm delighted to have used another 3.81 yards of fabric to make it.

Must ask... did you notice the blue spot in the middle-lower left?
Apparently, as I was rotary cutting a strip of fabric, another already-cut strip was underneath. Eek! I accidentally made a small cut in that strip.


Book Recommendation

Not far away, Lennox is a young man who is determined to prove himself to the ruthless man who's leading their country. Lennox's father is dead, and his mother seems to have abandoned him. Yet Lennox is loyal to his country and wants to restore the kingdom that was stolen from them.
When Annika and Lennox cross paths, swords are drawn. A battle ensues. Each is determined to defend her/his countrymen. It isn't until a storm rages, and Annika and Lennox are forced to seek shelter, that they learn about each other's past. Both have a different perspective on their country's history. Feelings aroused, they realize they need each other, and eventually learn they have more in common than they were told.
I intentionally selected a Kiera Cass book to read because several years ago I enjoyed her series called The Selection. While I liked that series better than this stand-alone book, A Thousand Heartbeats was still a nice break into utter fantasy. And refreshingly, without cussing, and sexual relations.
Linda's score: 3.9/5.0
Have you ever Googled your own name to see what comes up? I did recently and was surprised to see a number of my quilts on various sites, with a few on Pinterest.
I came across this picture posted to the eQuilter blog by Luana Rubin. She superimposed my maximalist quilt, Feelin' Groovy (she gave me credit) onto a fabric line of 24 "Gradation" ombré fabrics by Caryl Bryer Fallert-Gentry. Doesn't it look cool? Note that she "bound the photo" with a black and white stripe.

Luana commented "The black-and-white-and-color trend is ongoing and mutating."
I couldn't agree more. For my Feelin' Groovy quilt, I used many different colors of stripes in the body of the design, and two different widths of black and white stripes as binding. Apparently she noticed.
I'm just now realizing how often I'm turning to a stripe to add pizazz to a quilt. What I'm working on now has a stripe. I'll share more in my next blog post. Linda